
How to Use Air Movers & Dehumidifiers
A Simple Guide to Drying Water-Damaged Areas
Water damage can feel overwhelming, especially if you’re not sure where to start. The good news? When used correctly, air movers and dehumidifiers can significantly speed up drying and help prevent long-term damage like mold or warping.
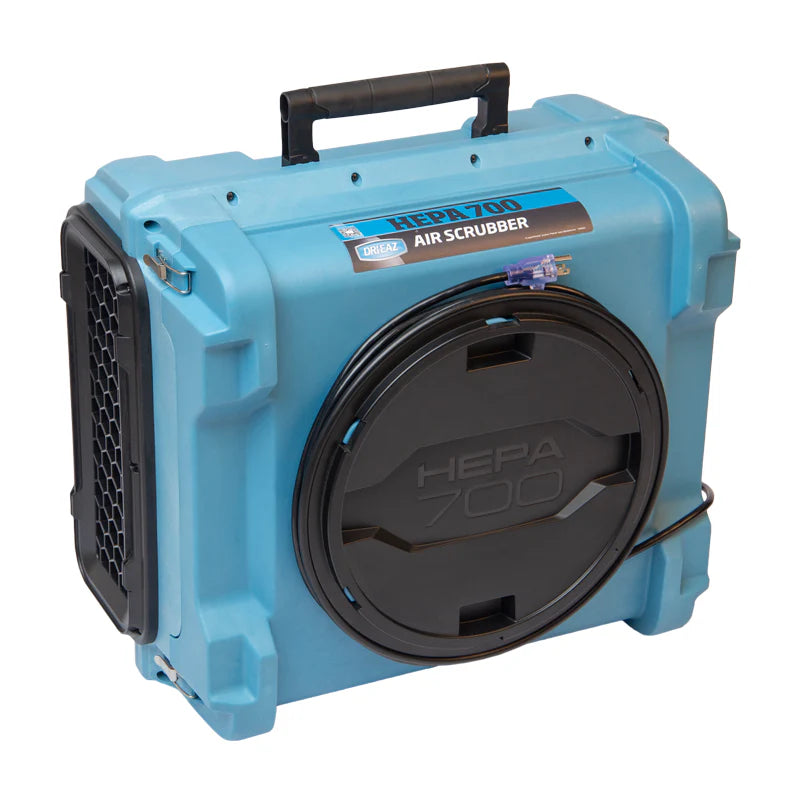
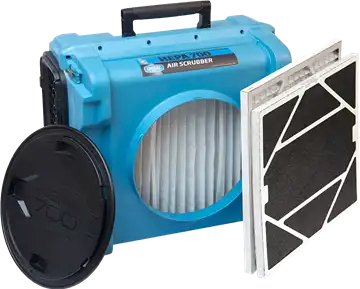
This guide walks you through how to properly use a 2.9 Amp Air Mover and a Pro Dri Dehumidifier, what each piece of equipment does, and when it’s time to stop and call a professional.
Why Air Movers and Dehumidifiers Work Best Together
Drying isn’t just about blowing air around.
- Air movers increase airflow across wet surfaces, helping moisture evaporate.
- Dehumidifiers pull that moisture out of the air so evaporation can continue.
Using one without the other can slow the process or allow moisture to settle back into materials. Together, they create an efficient drying cycle.
Before You Start: Make Sure It’s Safe
Before turning on any equipment, take a few minutes to prepare the space:
- Stop the source of water if possible
- Remove standing water with towels, a wet vacuum, or extractor
- Move furniture, rugs, and belongings out of the affected area
- If water is near electrical outlets, turn off power to the area
If water is contaminated (sewage, chemicals), or has entered walls or ceilings, do not proceed with DIY drying. Professional help is recommended.
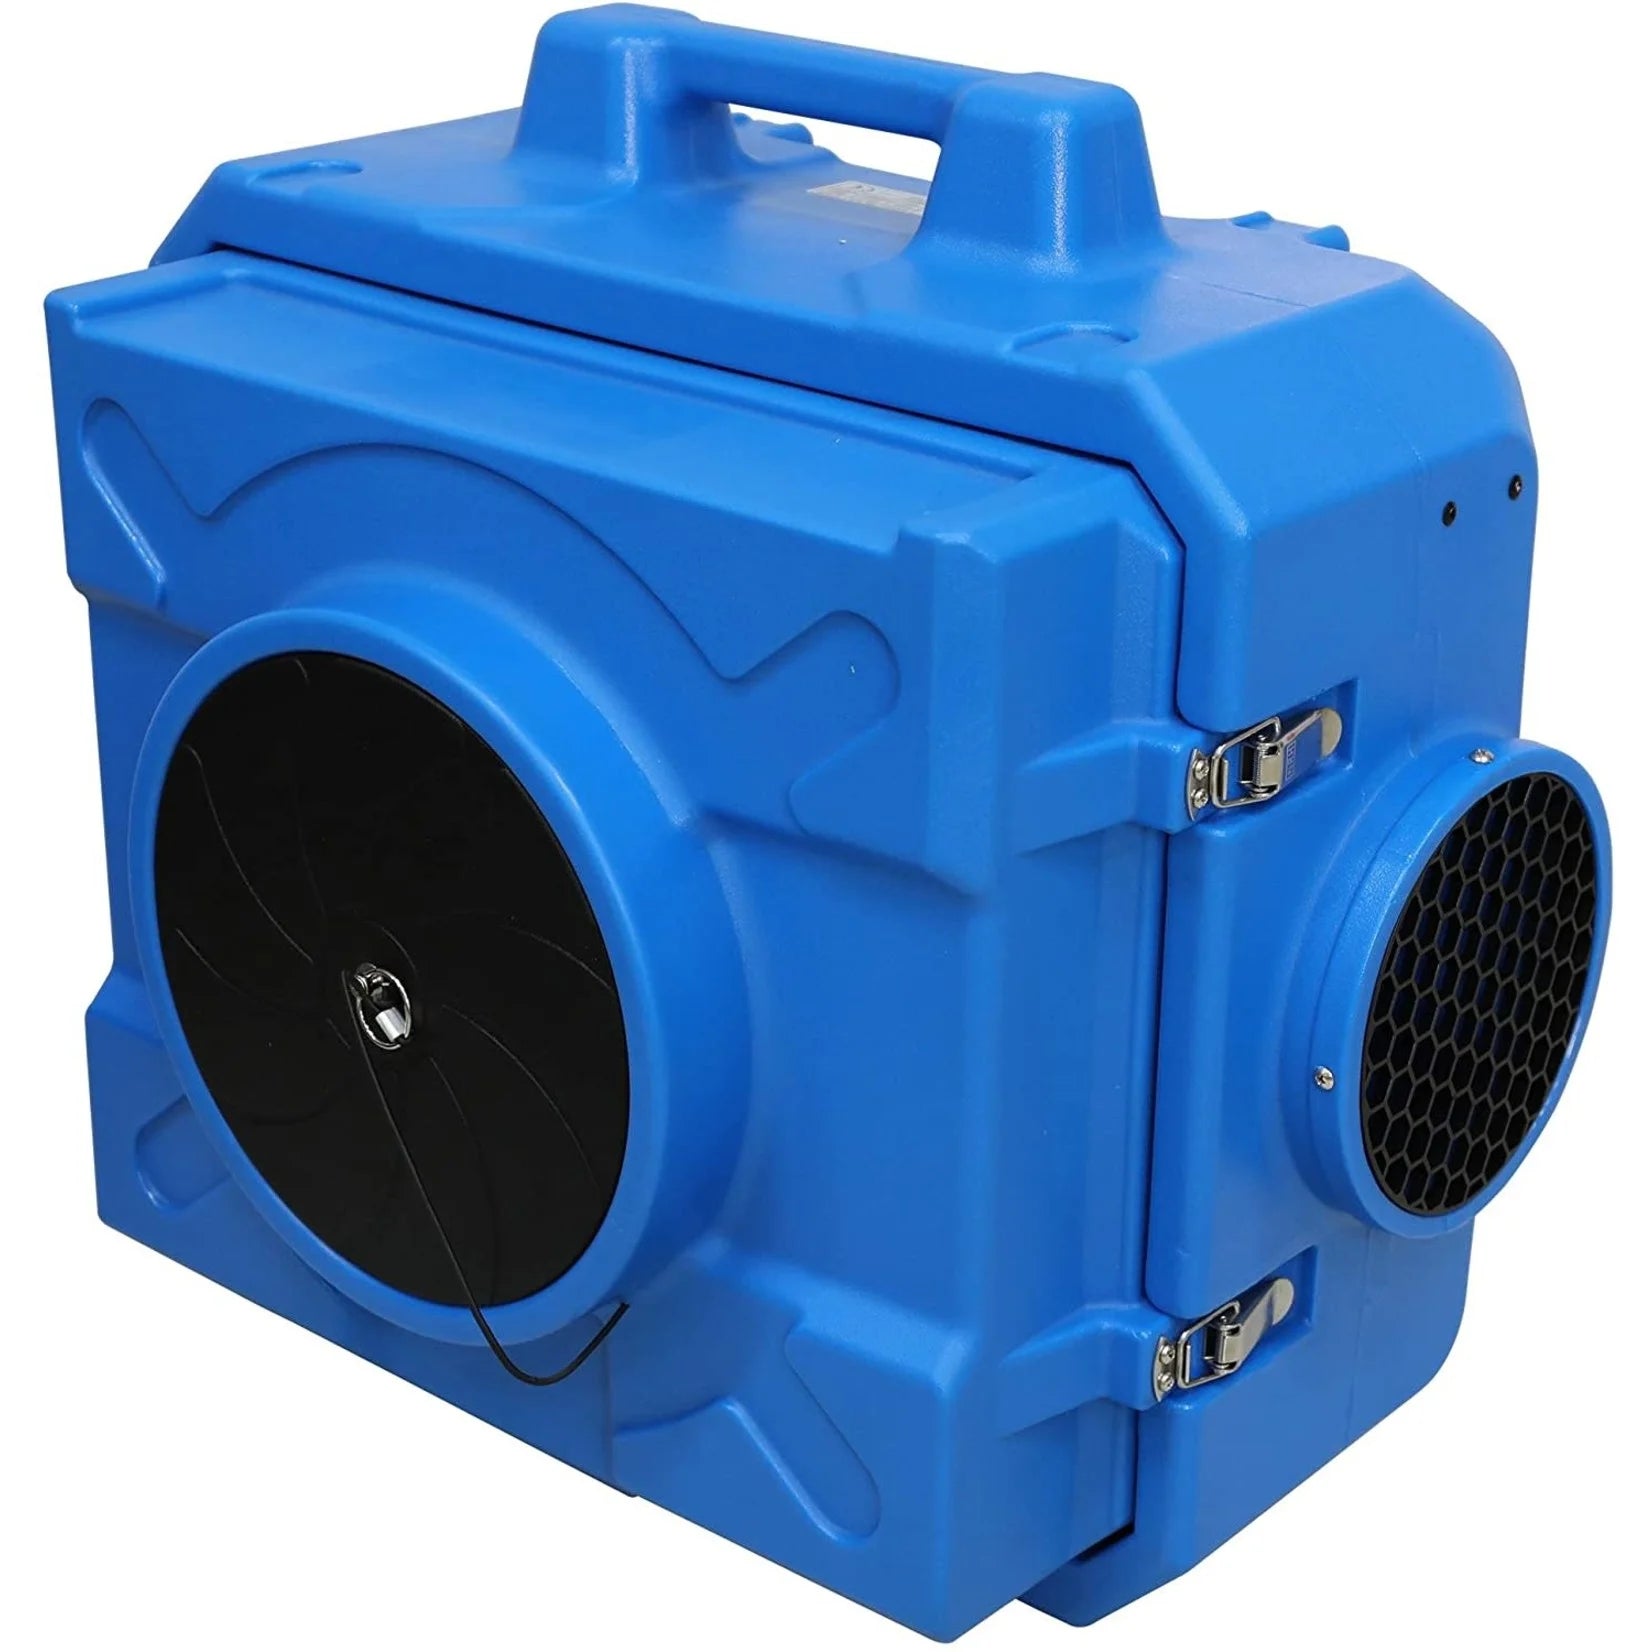
Step 1: Position the 2.9 Amp Air Mover Correctly
Air movers work best when they skim air across wet surfaces, not when they’re pointed straight at them.
For floors:
- Place the air mover at a 45-degree angle toward the wall
- Air should move across the surface, not straight down
For walls:
- Angle airflow along the wall from one side
- Avoid blowing directly into corners
Helpful tips:
- Keep air movers spaced 3–5 feet apart
- Do not stack units
- Plug directly into a wall outlet when possible
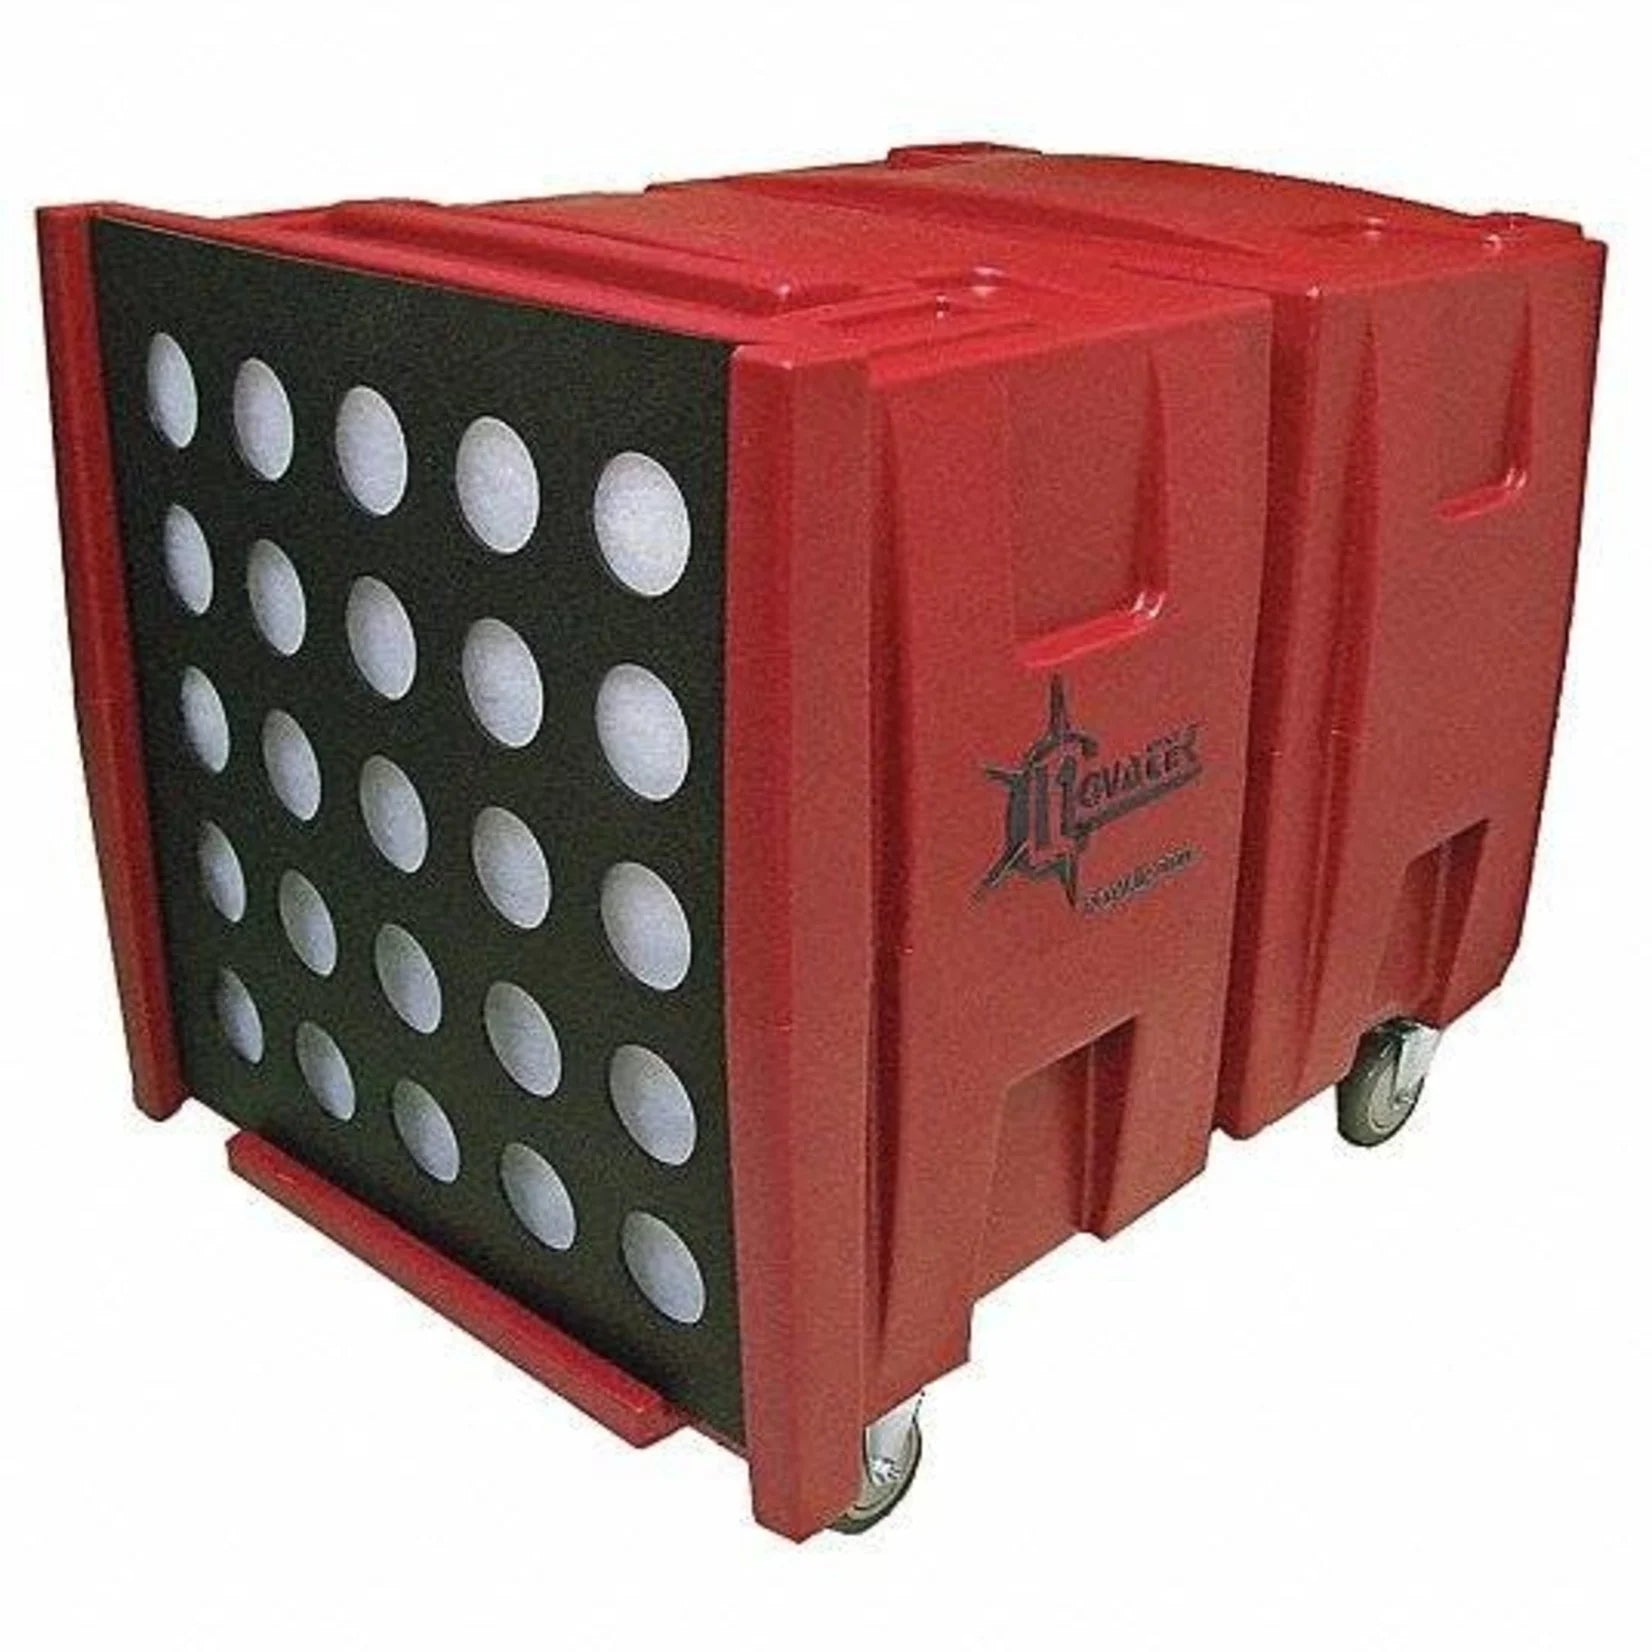
Step 2: Set Up the Pro Dri Dehumidifier
Once air is moving, moisture needs somewhere to go — that’s where the dehumidifier comes in.
Placement matters:
- Position the unit near the center of the affected area
- Leave 12–18 inches of clearance around the intake and exhaust
- Keep doors and windows closed to contain humid air
Drain setup:
- Attach the drain hose securely
- Route it to a sink, floor drain, or sump pump
- Make sure the hose slopes downward with no kinks
Step 3: Turn Equipment On in the Right Order
The order you start equipment makes a difference:
- Turn on the dehumidifier first
- Set it to continuous operation if available
- Turn on the air mover(s)
This allows moisture released from surfaces to be immediately removed from the air.
Step 4: Let Equipment Run Continuously
For best results, equipment should run 24 hours a day until drying is complete.
Typical drying times:
- Small spills or leaks: 24–48 hours
- Larger affected areas: 3–5 days
Turning equipment off too soon — especially overnight — can allow moisture to reabsorb into floors and walls.
Step 5: Check Progress Each Day
A quick daily check helps ensure drying stays on track:
- Feel floors and walls for dampness
- Watch for condensation or musty odors
- Make sure the drain hose is flowing properly
- Confirm air movers haven’t shifted position
If moisture doesn’t seem to improve after a few days, additional equipment or professional evaluation may be needed.
When DIY Drying Is Enough — and When It’s Not
You can stop drying when:
- Surfaces feel dry to the touch
- The room smells clean and normal
- Humidity levels feel comfortable again
Call a professional if:
- Drywall, insulation, or ceilings were affected
- Hardwood floors begin to cup or buckle
- A musty or mold-like odor develops
- Materials remain damp after 72 hours
Final Tip
Effective drying is about airflow + moisture removal.
Air movers and dehumidifiers work best as a team — and when used correctly, they can prevent costly long-term damage.
Need Help?
If you’re unsure about placement, equipment sizing, or whether your situation is safe for DIY drying, our team can help recommend the right solution — or let you know when professional restoration is the better option.