
In Step 1, we identified the class of water damage (how much is wet).
In Step 2, we identified the category of water (what kind of water it is).
Now in Step 3, it’s time to match your situation with the right equipment. Even after extraction, building materials hold moisture that needs to be dried. The right combination of air movers (drying fans), dehumidifiers, and sometimes air scrubbers ensures your home dries quickly and safely.
Here’s the full series for context:
- Step 1: Identifying the Class of Water Damage
- Step 2: Understanding Water Categories
- Step 3: Choosing the Right Drying Equipment (this post)
- Step 4: Why PPE Matters
- Step 5: Monitoring Drying Progress (Day 1–5)
Why This Step Matters
Choosing the wrong drying setup can waste time and money or worse, leave hidden moisture that leads to mold.
- Too few air movers and water won’t evaporate fast enough.
- Without dehumidifiers, moisture stays in the air and reabsorbs into walls and flooring.
- Without air scrubbers in higher-risk jobs, odors and airborne particles can spread.
When you come to the Dry It Yourself Center, we’ll ask about the size (class) and category of your water loss. That way, we can recommend the right number of air movers, the right size of dehumidifiers, and whether an air scrubber is needed.
What You’ll Need
Every drying setup is different, but most DIY projects require:
- Air movers (drying fans) → push moisture off wet surfaces.
- Dehumidifiers → pull moisture out of the air.
- Air scrubbers (optional) → filter out odors, dust, and spores.
- Extension cords and GFCI protection (for safe setup).
We stock all of these at the Dry It Yourself Center, sized for both small and large water losses.
Air Movers (Drying Fans)

Air movers are the backbone of water damage drying. They force air across wet surfaces, pushing moisture into the air so dehumidifiers can remove it.
- Rule of thumb: One air mover for every 10–16 linear feet of wall.
- Placement: Point fans at wet surfaces (walls, baseboards, floors), not into the center of the room.
Examples:
- Small bedroom (10 × 12 ft): ~2–3 air movers.
- Large living room (20 × 20 ft): ~5–6 air movers.
Pro Tip: Watch Your Breakers
Running too much drying equipment on one breaker can cause it to trip, shutting everything down without you knowing it. If you set up equipment in a property you can’t stay in, hours (or even a full day) could pass with no drying happening.
We recommend connecting no more than 4 air movers to a single 15 amp breaker, especially if you’re also running a dehumidifier on the same circuit. Use extension cords to spread equipment across multiple breakers and keep everything running safely and consistently.
Dehumidifiers

Dehumidifiers pull water out of the air so surfaces can keep releasing moisture. Without them, air movers just shuffle humidity around.
- Rule of thumb: One dehumidifier for every 400–600 sq. ft. of wet area.
- Sizing: Larger losses or humid climates may require multiple units.
Examples:
- Bedroom (120 sq. ft.): 1 dehumidifier.
- Basement (1,000 sq. ft.): 2 dehumidifiers.
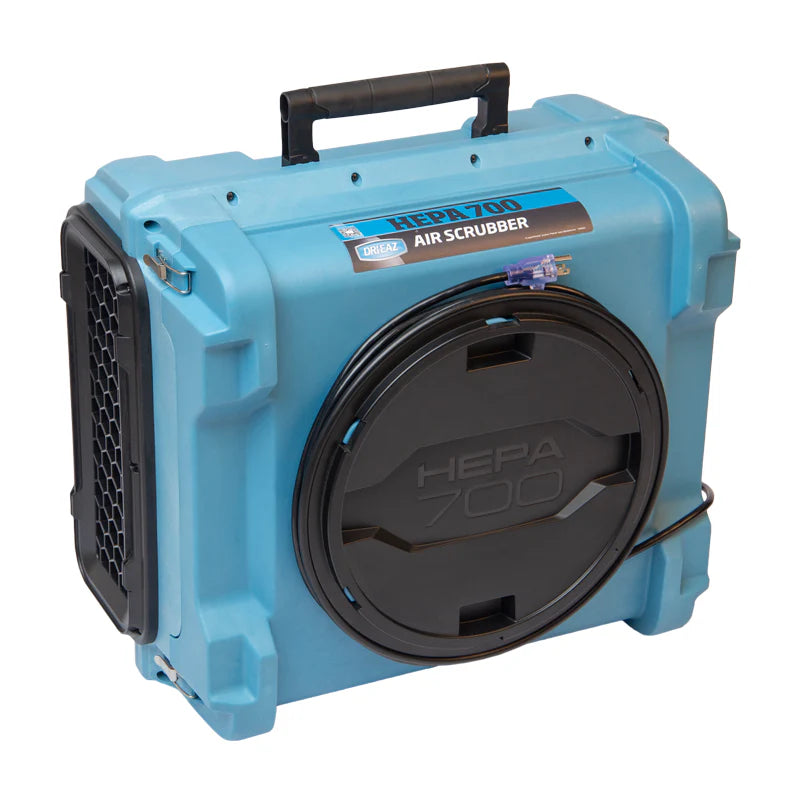
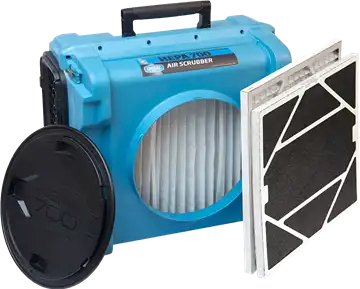
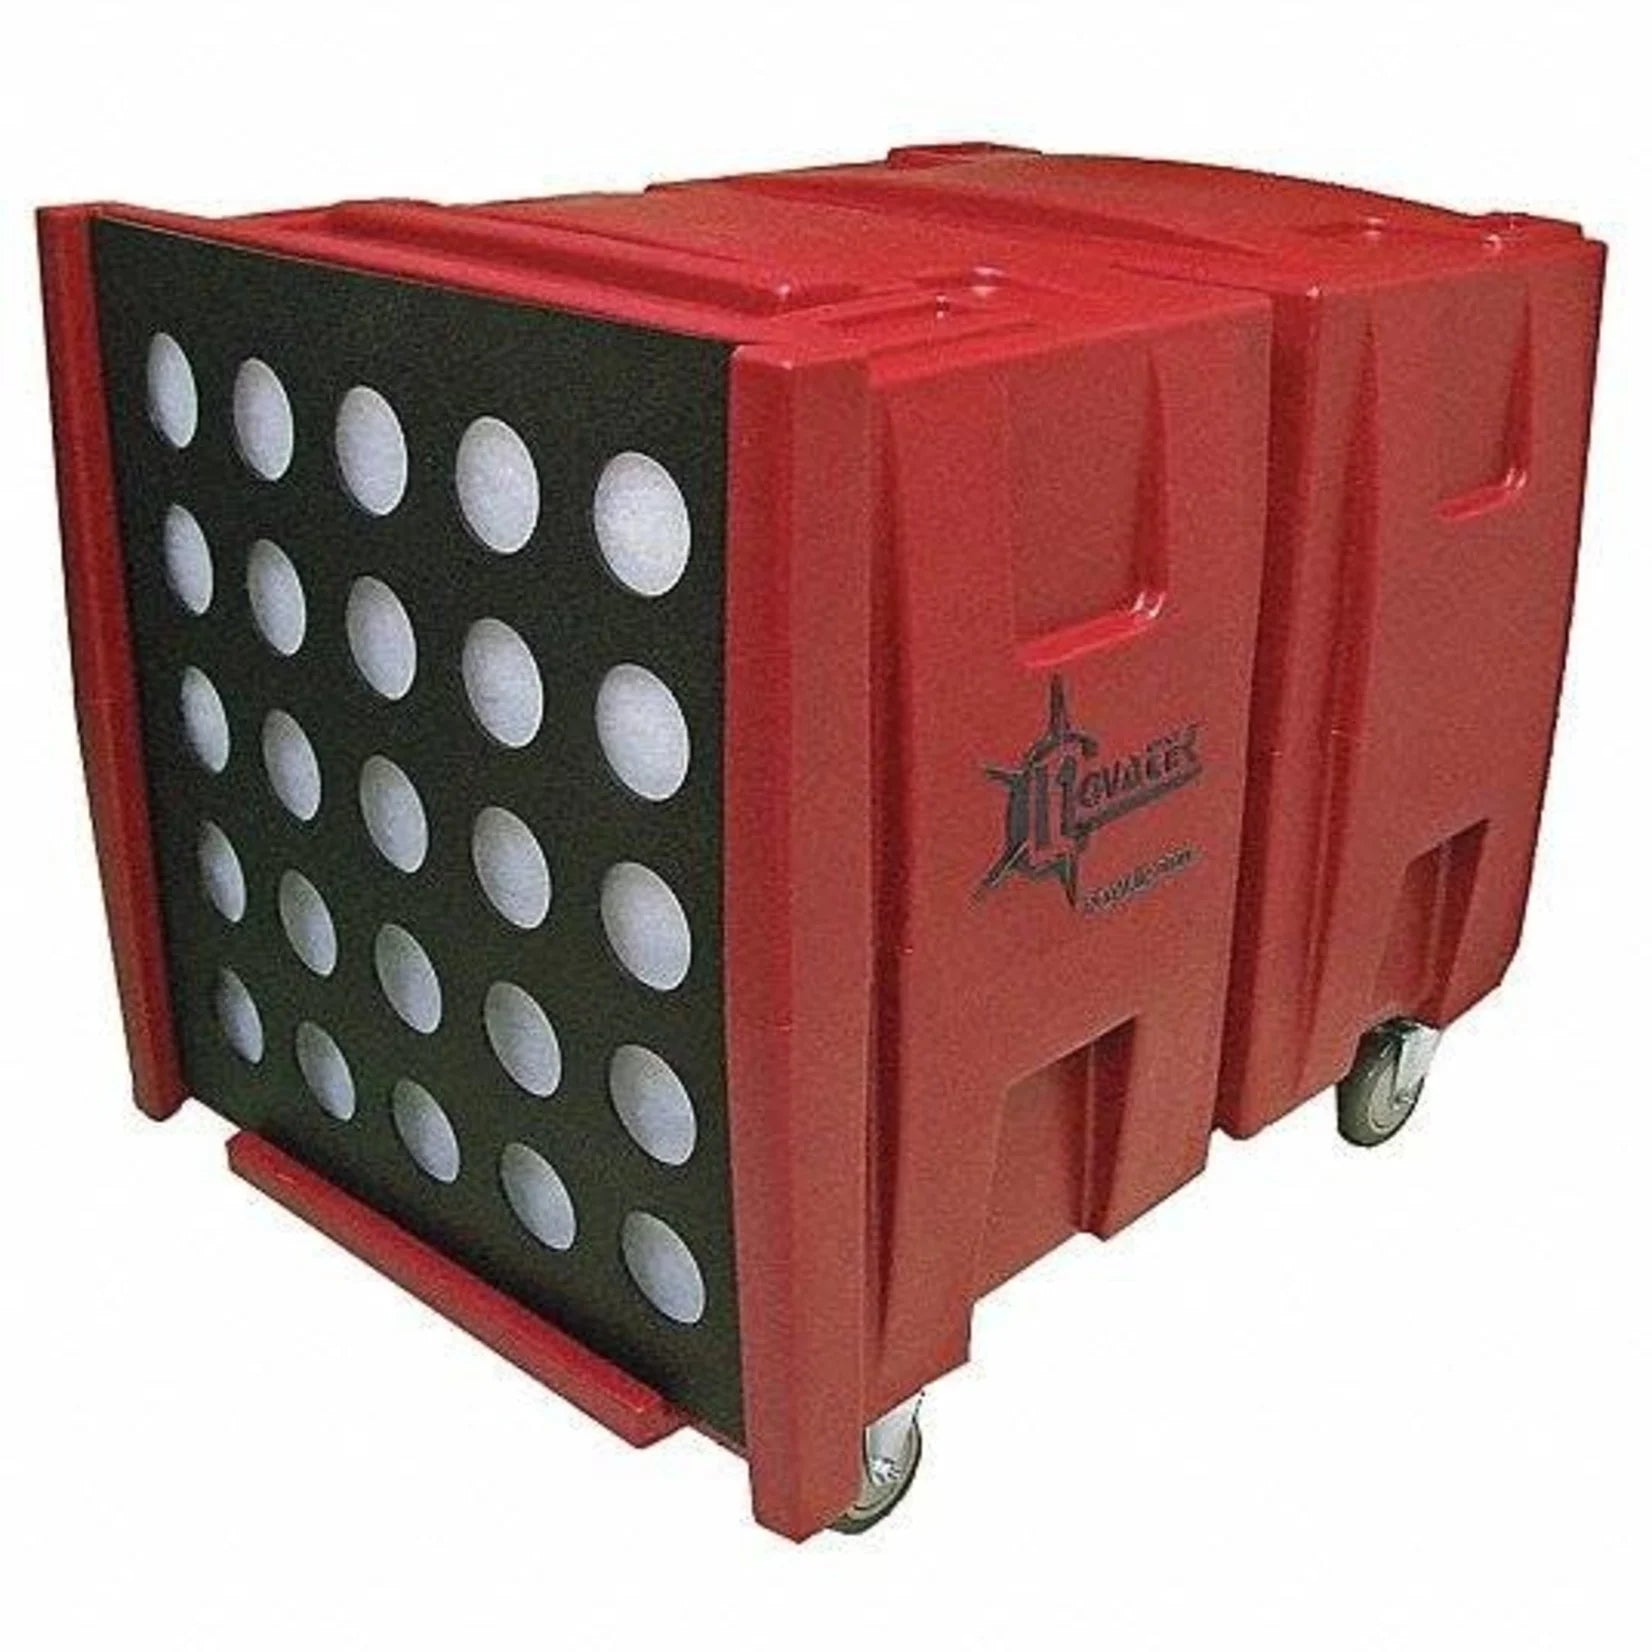
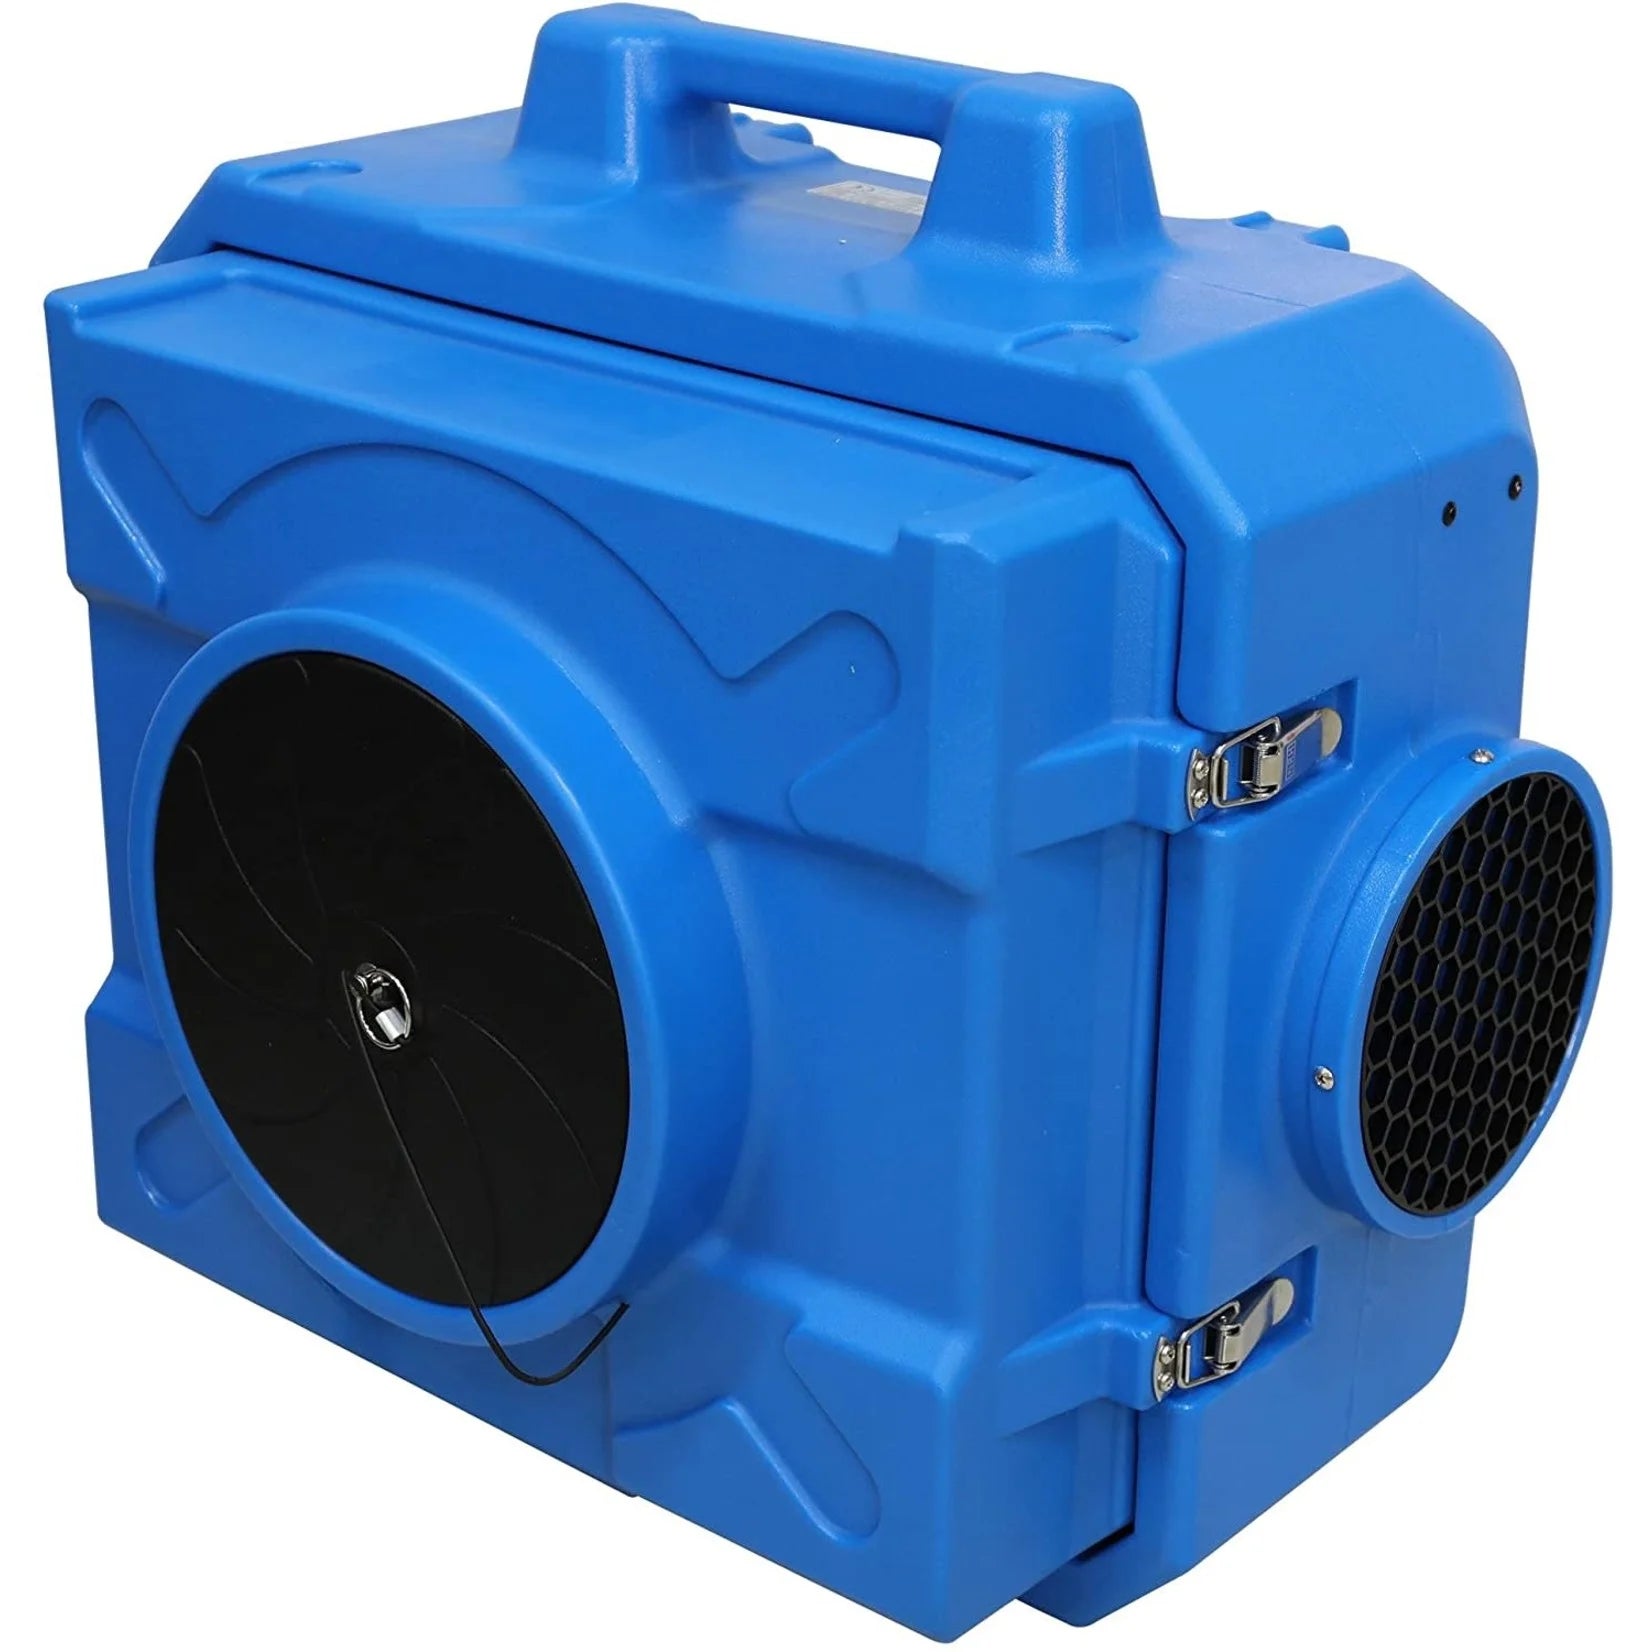
Air Scrubbers

Air scrubbers aren’t always required, but they help when odors or contaminants are present. They draw in air, pass it through HEPA filters, and return clean air to the space.
Use an air scrubber if:
- You’re dealing with Category 2 or 3 water.
- Family members have asthma or allergies.
- You notice strong musty odors.
Examples:
- Bathroom sewage backup: 1 air scrubber in the space.
- Flooded basement with heavy odor: 1–2 scrubbers depending on size.
Why Equipment Sizing Matters
Even with the right type of gear, undersizing or oversizing slows the drying process.
- Undersizing: Surfaces stay wet longer, raising mold risk.
- Oversizing: Wastes power and can make spaces uncomfortably dry or noisy.
That’s why we use both the class of water damage and the category of water to recommend the correct setup.
When to Call a Professional
For most Class 1 and Class 2, Category 1 losses, DIY equipment rentals are effective. But larger jobs often require more gear than a typical homeowner can set up safely.
We recommend calling an IICRC-certified restoration crew if:
- The water loss is Class 3 or 4 (major saturation or bound moisture).
- The water is Category 3 (black water).
- You don’t have safe electrical access for multiple machines.
If you’re unsure, bring photos or room measurements to the Dry It Yourself Center. Our team will help size your equipment package and explain how to set it up.
What’s Next
Now that you know what equipment is needed for drying, the next step is making sure you stay safe while using it.
👉 Continue to Step 4: Why PPE Matters.
This post is part of our step-by-step guide to tackling water damage at home. If you missed the other sections, you can catch up here:
- [Step 1: Identifying the Class of Water Damage] – Learn how to measure the size and scope of your water loss.
- [Step 2: Understanding Water Categories] – Know what type of water you’re dealing with and how dangerous it can be.
- [Step 3: Choosing the Right Drying Equipment] – Match the right number of air movers, dehumidifiers, and specialty tools to your project.
- [Step 4: Why PPE Matters] – Protect yourself with proper respirators, gloves, and containment systems.
- [Step 5: Monitoring Drying Progress (Day 1–5)] – Track moisture levels and know when your space is officially dry.
👉 At the Dry It Yourself Center, we carry everything you’ll need from drying fans and dehumidifiers to PPE and moisture meters and we’ll help you size the equipment for your specific class and category of water damage.