
When a water loss happens, the first thing to figure out is how severe the damage really is. This is identifying the class of water damage. Knowing the class helps you understand what equipment you're going to need moving forward. It makes the difference between an effective and efficient dry out, or dealing with mold in the foreseeable future.
This article is Part 1 of our Dry It Center Water Loss Series, where we’ll cover:
-
- Step 1: Identifying the size of Water Loss (this post)
-
- Step 2: Understanding Water Categories (Clean, Gray, Black)
-
- Step 3: Choosing the Right Drying Equipment
-
- Step 4: Why PPE Matters
-
- Step 5: Monitoring Drying Progress (Day 1–5)
Why This Step Matters
Knowing the class of water damage is how professionals find out what they’re going to need to bring your home back to where it was before the water loss happened, and how long it's going to take. Our goal with this first step is simple, make sure we’re both talking about the same size job.
When you come to the Dry It Center, being able to say “this looks like a smaller loss, maybe a class 2?” versus, “I think it’s a pretty large loss there was a lot of water in there at some point” makes it much easier for us to understand the scope of your project. We always recommend bringing photos, but sometimes we can’t see things like moisture retention in photos. Just like a doctor prescribing medicine, we need the right “diagnosis” before we can recommend the right “treatment.”
The differences between Class 1, Class 2, Class 3, or Class 4 water loss can mean:
- A big jump in the number of air movers (drying fans) needed.
- Whether one or multiple dehumidifiers are required.
- If specialty drying equipment (like Injectidry systems for hardwood) is necessary.
Using the same terminology helps us size your equipment package accurately, saves you money by preventing over-renting, and ensures you don’t under-prepare for a larger loss.
What You’ll Need
After extraction, you’ll likely need a couple of tools to confirm where everything is wet and how far the damage spread:
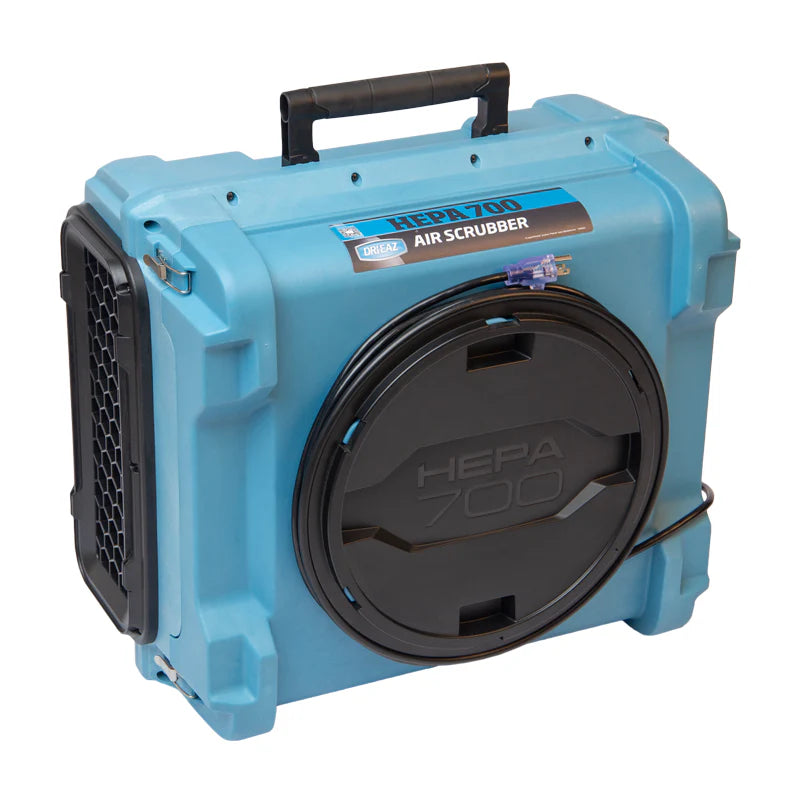
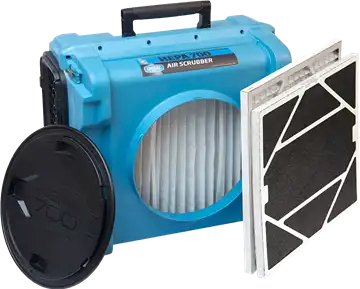
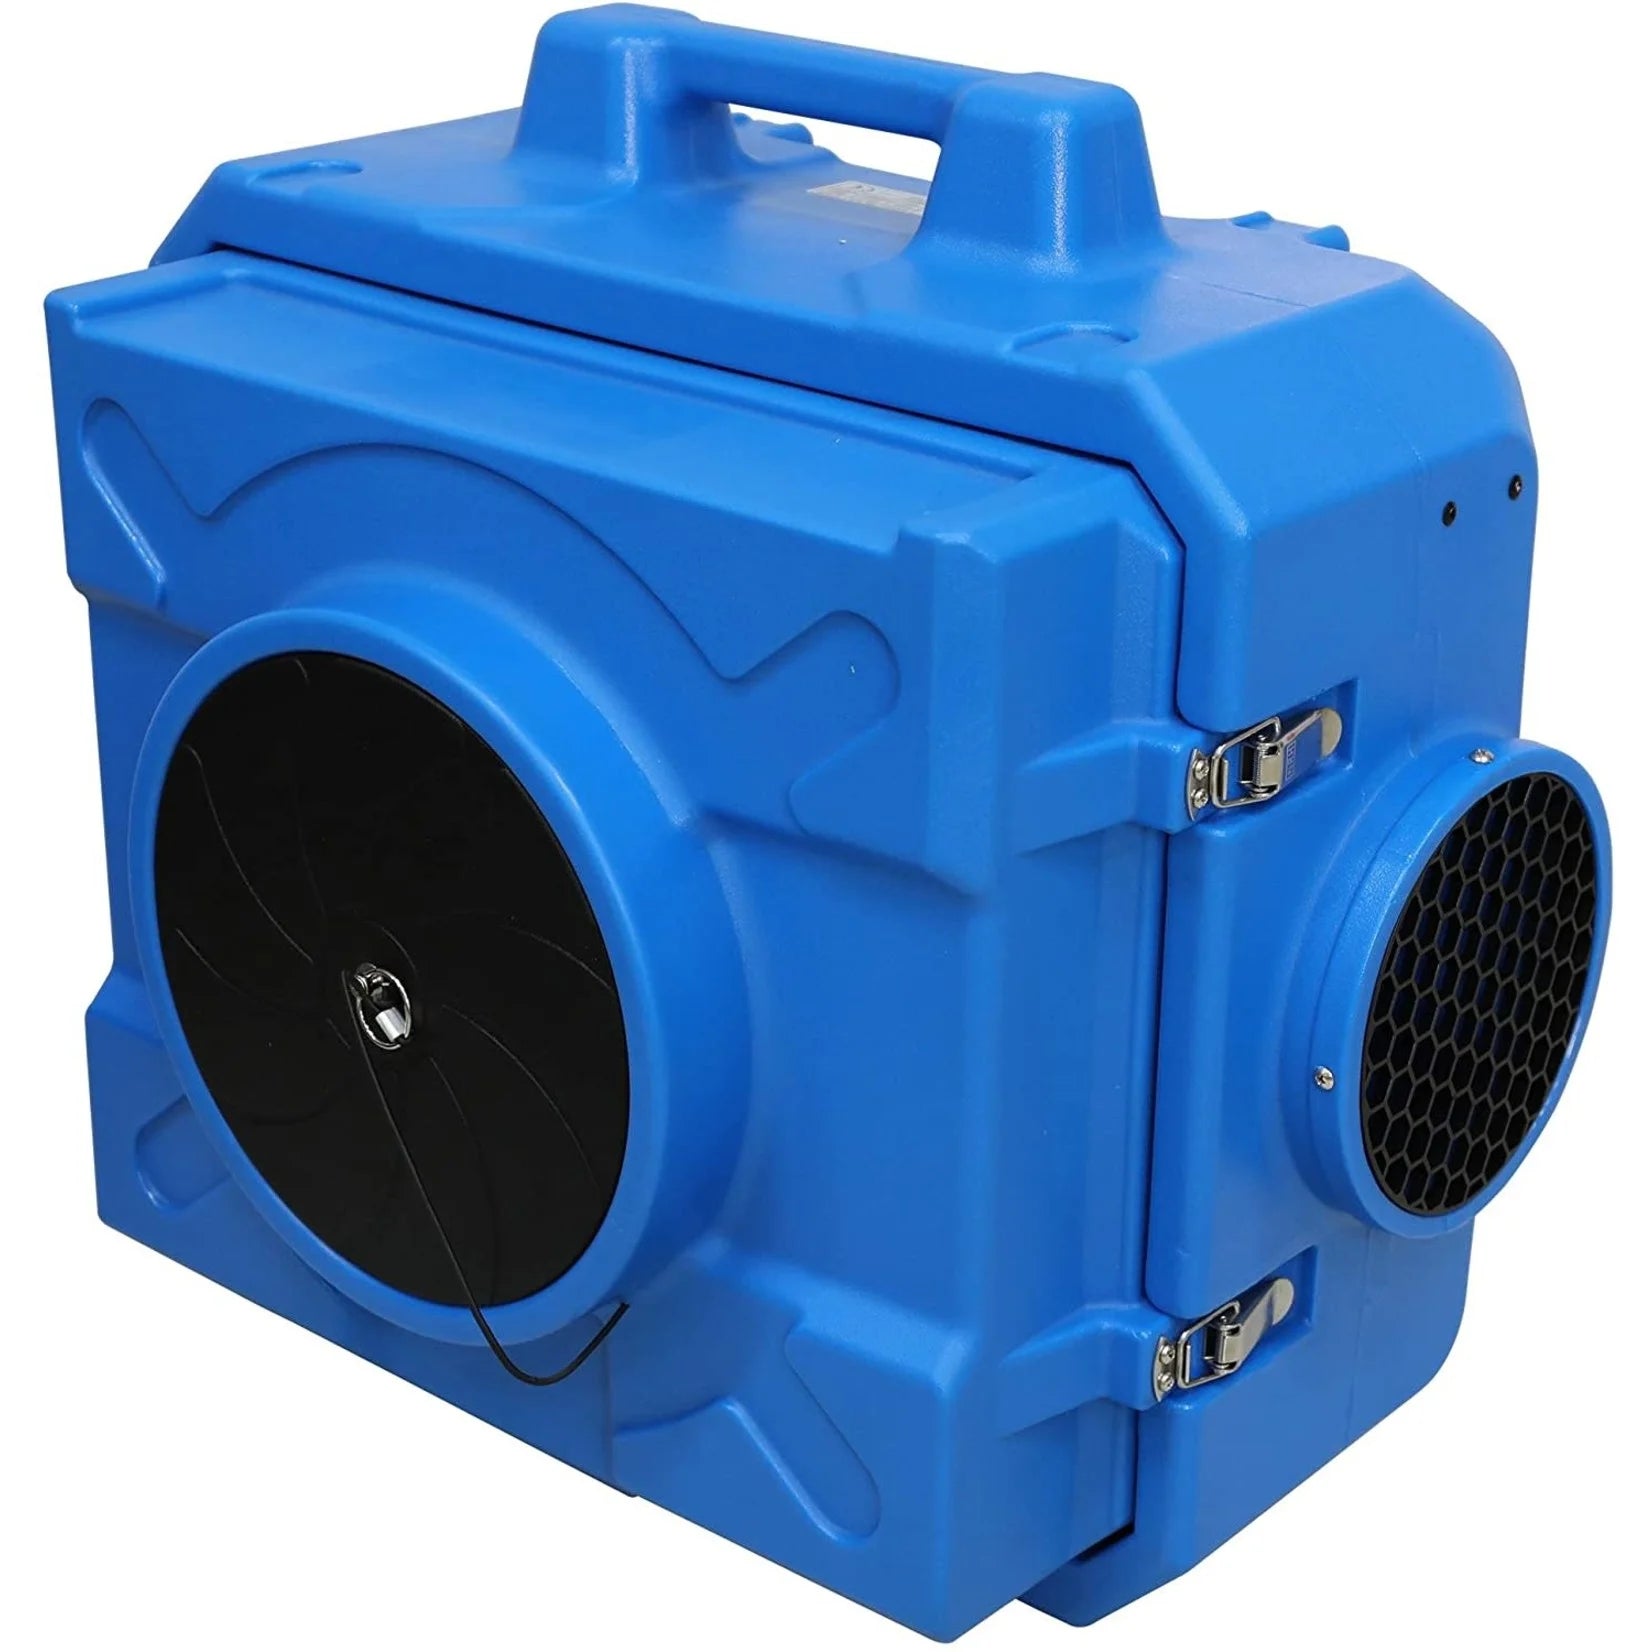
We carry all of these tools here at the Dry It Center to make identifying water damage simple and accurate.


Class 1 — Little to no Water
- - Less than 5% of the total room surfaces are wet.
- - Examples: a small sink drip that was quickly fixed with plumbers tape (Teflon tape), an appliance leak caught quickly, a gallon water bottle spill
-
- What you’ll see: a damp carpet pad, one wall section, or a small ceiling patch showing moisture. The damage is limited and contained.
Class 2 — Small to Medium Loss, Some Saturation
-
- Between 5% and 40% of surfaces in the room are wet.
-
- Examples: Wet carpet and pad. Dishwasher overflow, washing machine leak, or pipe break that spreads across the floor, overflow from a toilet, sink, or bathtub.
-
- What you’ll see: flooring materials (like carpet and pad) are saturated, and water has wicked into drywall up to about two feet at most. You may also see isolated ceiling spots directly under a leak.
Class 3 — Large loss, Major Saturation
- - More than 40% of the combined floor, wall, and ceiling surfaces are wet.
- - Examples: Wet carpet, pad, walls, and ceiling. Upstairs bathroom supply line break, burst pipe running for extended periods, or major leaks soaking multiple surfaces.
-
- What you’ll see: flooring fully saturated, walls wet well above two feet (often halfway or more), and ceilings showing moisture involvement, in worst case scenarios you’ll also see bowing of the walls and structure.
Class 4 —Bound Moisture in Hard-to-Dry Materials
-
- Determined by the type of material, not just the surface area.
-
- Examples: hardwood floors cupping, plaster walls staying damp, structural materials like framing are swollen or retaining moisture, or multi-layer flooring..
-
- What you’ll see: surfaces look affected but don’t release moisture easily. Even after water is extracted, these materials hold water deep inside.
We always recommend hiring an IICRC-certified water restoration crew for larger jobs, especially Class 3 and Class 4 water damage. DIY drying is absolutely possible, but if it’s done incorrectly, even a small Class 1 loss can turn into a mold problem later on.
If you’re unsure, or want confirmation before getting started, stop by the Dry It Center. Our team can walk you through the situation and recommend exactly what equipment you’ll need based on the class or size of your water loss. That way, you can get the right number of air movers, the right size of dehumidifiers, and know if any specialty drying tools are required before you begin.
What’s Next
Now that you know how to recognize the class of water damage, the next step is to learn about water categories — clean, gray, and black water — so you can determine the safety risks involved.
👉 Continue to Step 2: Understanding Water Categories.
This post is part of our step-by-step guide to tackling water damage at home. If you missed the other sections, you can catch up here:
- - [Step 1: Identifying the Class of Water Damage] – Learn how to measure the size and scope of your water loss.
- - [Step 2: Understanding Water Categories] – Know what type of water you’re dealing with and how dangerous it can be.
-
- [Step 3: Choosing the Right Drying Equipment] – Match the right number of air movers, dehumidifiers, and specialty tools to your project.
-
- [Step 4: Why PPE Matters] – Protect yourself with proper respirators, gloves, and containment systems.
-
- [Step 5: Monitoring Drying Progress (Day 1–5)] – Track moisture levels and know when your space is officially dry.
👉 At the Dry It Yourself Center, we carry everything you’ll need — from drying fans and dehumidifiers to PPE and moisture meters — and we’ll help you size the equipment for your specific class and category of water damage.